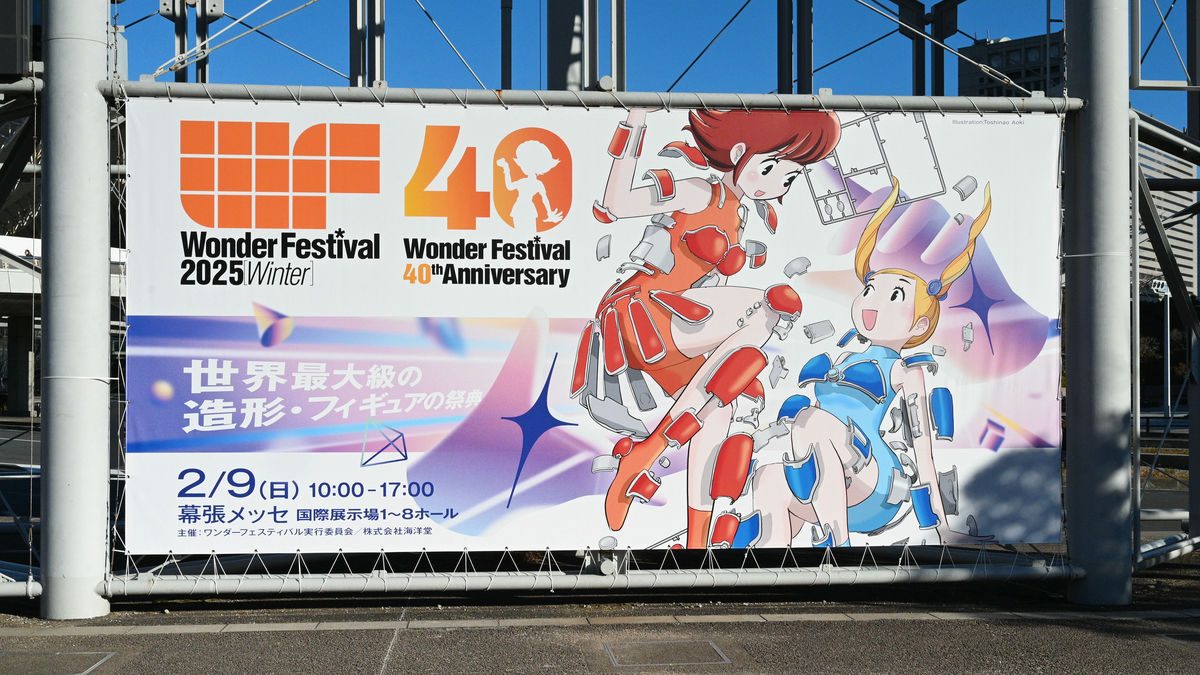
A garage kit arrives in a ziplock bag. Inside: grey resin parts, sometimes ten pieces, sometimes forty. No paint. No colour of any kind. What happens next is a 40-80 hour transformation involving primer, putty, an airbrush, steady hands, and a community that treats figure painting like a fine art. The results routinely surpass factory-painted figures costing three times as much.
The Starting Point
Every garage kit begins like this: a ziplock bag of grey or off-white resin parts, sometimes wrapped in tissue paper, sometimes loose. There might be a single sheet showing part placement. There will be flash (excess resin from the mould), mould lines, and occasionally air bubbles that need filling. The kit is a suggestion of a figure. Everything else — the colour, the finish, the life — comes from the builder.
 A typical garage kit unboxed — grey resin parts, flash still attached, mould lines visible. This is the starting line. The finish line is 40-80 hours away
 A garage kit painter's workstation — airbrush, compressor, Tamiya and Mr. Color paints, magnifying lamp. The minimum viable setup runs $200-400
 Primer coat on assembled parts — Mr. Surfacer 1500 reveals surface imperfections invisible on raw resin. This is where the real prep work begins
 Eye painting — the single most anxiety-inducing step. Many builders spend more time on eyes than on entire body sections. Decals exist but purists hand-paint
 Before and after — the same kit, left side raw resin, right side completed build. The transformation is why builders tolerate the process
The community consensus: your first kit will be bad. Your third kit will be acceptable. Your tenth kit will surprise you. The skill curve is steep but the progression is visible — every completed kit is measurably better than the last, and that tangible improvement is what makes the hobby addictive.
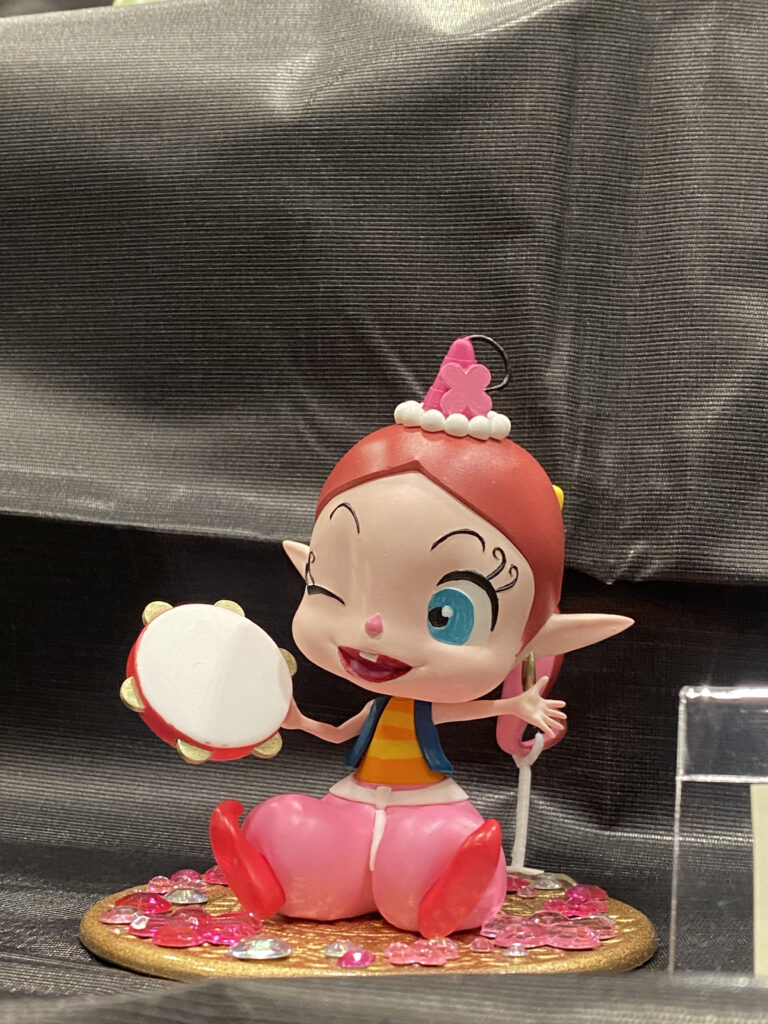 Finished garage kits on display — hand-painted pieces with a presence that factory figures can't replicate. The slight imperfections are the proof of human hands
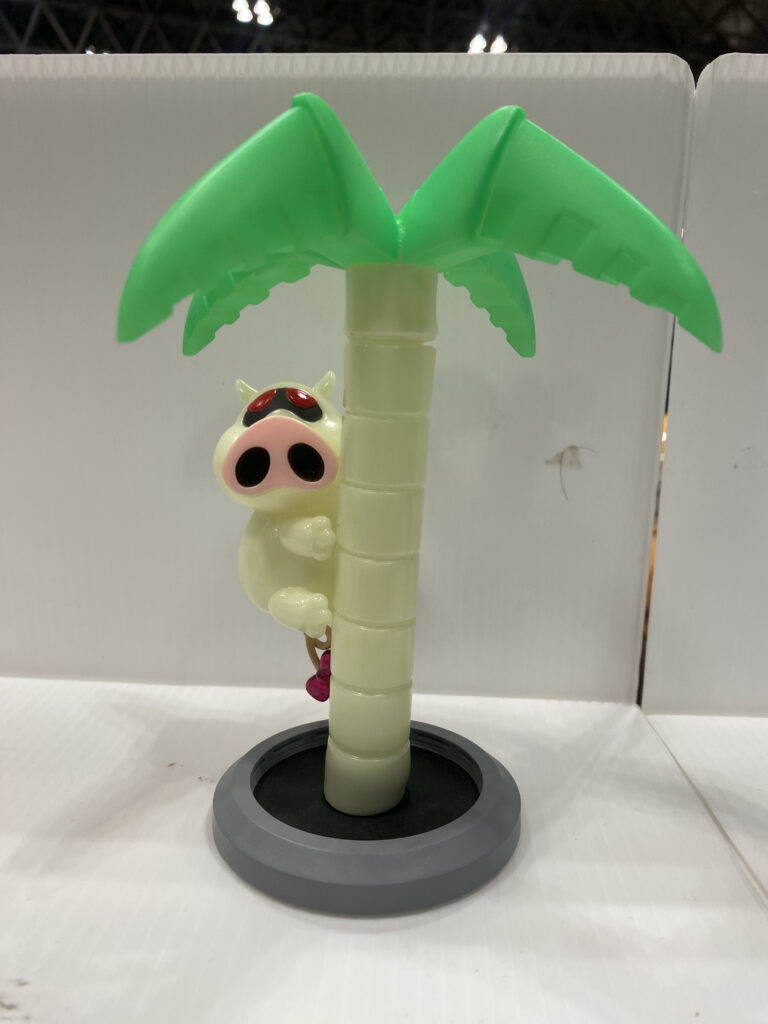 Competition-grade build — the top tier of garage kit painting approaches fine art. Competitive builders spend 200+ hours on a single piece
A garage kit arrives in a ziplock bag. Inside: grey resin parts, sometimes ten pieces, sometimes forty. There's flash — thin fins of excess resin where the mould didn't seal perfectly. There are mould lines — raised seams running along the surface where the mould halves met. Occasionally there are air bubbles — tiny craters in the resin that need filling. There is no paint. There is no colour of any kind. If instructions exist, they're a single photocopied sheet showing which part connects to which, with the optimistic assumption that you'll figure out the rest.
This is the starting point. The end point — 40 to 80 hours later, if you're working at a reasonable pace — is a painted, assembled, finished figure that you built with your hands. And if you've developed the skills, it will look better than a factory-painted figure that costs three times as much. That gap between the bag of grey parts and the finished object on your shelf is where the entire garage kit hobby lives.
The Process
Every garage kit build follows the same sequence, whether it's a ¥3,000 beginner CharaGumin from Volks or a ¥25,000 limited-run resin kit from a Wonder Festival dealer table.
Washing and prep. Resin kits ship with mould release agent on the surface — an oily residue that will ruin paint adhesion if you don't remove it. The parts go into warm soapy water. Some builders use ultrasonic cleaners. Others use dish soap and a toothbrush. The goal is the same: perfectly clean resin that paint can grip.
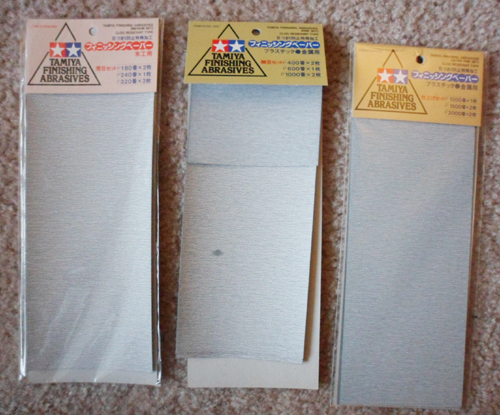
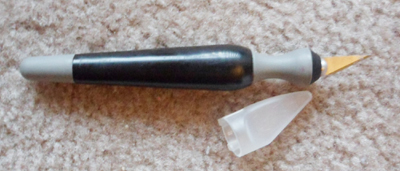
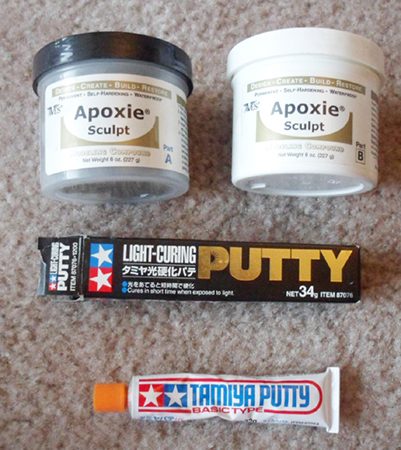
Flash removal and cleanup. The excess resin gets trimmed with hobby nippers and sanded smooth. Mould lines are scraped or sanded away. Air bubbles get filled with epoxy putty — Tamiya or Wave brand, mixed by hand, pressed into the crater, sanded flush once cured. Critical safety note: resin dust is genuinely harmful — inhaled particles can cause serious respiratory damage. A respirator mask isn't optional. Wet-sanding (sanding under running water to suppress dust) is the other option. This is the unglamorous foundation work. Skip it and every flaw shows through the paint. Skip the respirator and the hobby hurts you back.
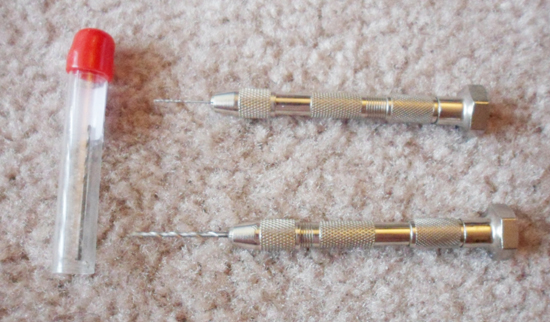
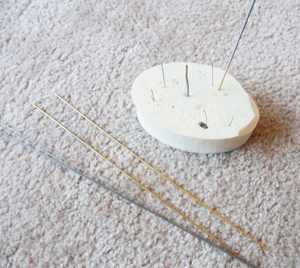
Dry fitting and pinning. Parts get test-assembled without glue to check alignment. For larger or heavier joins, brass pins are drilled into both surfaces to create mechanical bonds stronger than glue alone. A pin vise and 1mm brass rod are standard kit in any builder's toolbox.
Priming. Mr. Surfacer 1500 — the community standard — goes on via airbrush in thin coats. The primer serves two functions: paint adhesion and flaw detection. Imperfections invisible on raw resin become immediately obvious under a uniform grey primer coat. Builders call this the "moment of truth." You think your prep was thorough, then the primer reveals every scratch and divot you missed, and you go back to sanding.
Painting. This is where the hours accumulate. Base colours go down via airbrush — Mr. Color lacquers for durability, Vallejo acrylics for easier cleanup, Gaianotes for specific tones the other brands don't match. Shading, highlights, and colour transitions require masking, layering, and patience. Skin tones alone can involve five to eight separate colours blended across dozens of thin coats. Hair requires careful masking or freehand gradient work. Clothing gets shadow colours in the recesses and highlights on the raised edges.
Eyes. The community consensus is that eyes make or break a kit. Painting eyes on a 1/8 or 1/6 scale figure means working on a surface smaller than a fingernail, with zero room for asymmetry. Some builders use waterslide decals — pre-printed eye designs that transfer onto the face. Purists hand-paint, using a fine-point brush (000 or smaller), a magnifying lamp, and controlled breathing. Reddit's r/resinkits is full of posts where someone nails a flawless eye paint and the thread erupts with respect, because everyone in that community knows exactly how difficult it is.
Clear coating and assembly. Finished paint gets protected with clear coats — matte, semi-gloss, or gloss depending on the surface (matte for skin and clothing, gloss for eyes and wet-look surfaces). Final assembly with cyanoacrylate glue. And then it's done: a figure that didn't exist 40 hours ago, built from raw material by one person's hands.
The Community
Garage kit building is a solitary hobby with a social infrastructure. The building happens alone — you and your airbrush at 11pm on a Tuesday — but the learning, the sharing, and the motivation come from community.
r/resinkits on Reddit is the English-language hub. Build logs, work-in-progress shots, completed showcases, and the inevitable "first kit" posts that receive encouragement regardless of quality. The community's culture is genuinely supportive in a way that many hobby spaces aren't. Experienced builders critique technique without condescension. Beginners get specific, actionable advice rather than vague platitudes. The shared understanding is that everyone's first kit looked rough, and the only path to improvement is to keep building.
Japanese hobby forums and Twitter/X accounts operate at a different tier. Japanese builders — many of whom paint professionally for Wonder Festival dealers or commercial figure companies — post process shots that demonstrate technique at a level most Western hobbyists are still working toward. The language barrier is real, but the visual medium transcends it. You don't need to read Japanese to learn from a time-lapse of someone painting seamless skin gradients.
Painting competitions formalize the skill hierarchy. Wonder Festival includes display areas where builders showcase completed works. Dedicated painting contests — both online and at conventions — judge on technique, colour theory, and overall presentation. The top tier of competitive garage kit painting is genuinely approaching fine art territory: pieces with hand-painted freehand details, NMM (non-metallic metal) effects, OSL (object source lighting) simulation, and weathering that tells a story about the character's environment.
The Economics
A starter garage kit painting setup runs approximately ¥30,000 ($200) for the basics — nippers, sandpaper, putty, primer, brushes, and a handful of paint colours. A full setup with airbrush, compressor, and paint booth pushes to ¥100,000 ($680). The airbrush is the significant investment. You can paint a kit with brushes alone, and some builders do, but the airbrush enables smooth base coats and blended gradients that are functionally impossible to achieve by hand.
Kits themselves range from ¥2,000 ($13) for Volks CharaGumin starters to ¥15,000-30,000 ($100-200) for complex limited-run originals. The most sought-after Wonder Festival exclusives — kits that were produced in runs of 20-50 copies and sold at a single event — command ¥50,000+ ($330+) on the secondary market, and the price assumes you still need to build and paint it yourself.
The value proposition inverts the normal figure market logic. A factory-painted scale figure costs ¥15,000-25,000 and arrives finished. A garage kit at the same price arrives as raw parts, demands 40-80 hours of labour, requires $200+ in equipment, and might not look as good as the factory version if you're still developing your skills. The hobby makes no economic sense. It makes perfect emotional sense. The figure you painted is yours in a way that a factory figure can never be.
The Skill Curve
The community has an honest relationship with the learning curve, and that honesty is one of the hobby's strengths. Nobody pretends that a beginner's first kit will look professional. The standard advice is straightforward: buy a cheap kit, accept that it will be imperfect, finish it completely (don't abandon it halfway), learn from the experience, and build another one.
The progression is visible and measurable. First kit: uneven paint, visible brush strokes, maybe a colour that doesn't quite work. Third kit: cleaner coats, better masking, the beginning of intentional shading. Fifth kit: the airbrush feels natural, you're mixing custom colours, and the eyes don't terrify you anymore. Tenth kit: you're posting on Reddit and receiving compliments from builders whose work you admired six months ago.
That tangible improvement — the fact that each completed kit is observably better than the last — is what separates garage kit building from passive collecting. A figure collection grows in quantity. A garage kit builder's shelf grows in quality. The earliest kit on the shelf is proof of how far you've come. Nobody throws it away.
Why It Matters
In a figure market increasingly defined by pre-orders, aftermarket speculation, and factory quality at factory prices, garage kits represent something different: a hobby where the collector's skill is part of the object. The figure on the shelf isn't just something you acquired. It's something you made. The paint job carries your decisions — which colours, which finish, how aggressive the shading. The small imperfections are evidence of human hands, not manufacturing defects.
The garage kit community knows this. They don't compete with factory figures on consistency or precision. They compete on character. A hand-painted figure has presence that a factory piece doesn't, in the same way that a hand-thrown ceramic has presence that a machine-made mug doesn't. The medium is the message: someone cared enough to spend 40 hours on this object, and that care is visible in the result.
Raw kits available through Volks, Booth.pm (direct from sculptors), and Wonder Festival dealer tables. TFO Hobima runs bi-yearly online events for authenticated kit sales. Starter supplies at any hobby shop carrying Mr. Color and Tamiya lines.
Loading...